If you buy through our links, Amazon pays us a small commission at no extra cost to you. It never affects our scores. How we are funded.
The same camera can give you stunning footage or something unwatchable depending on where you put it. These are the most popular positions and what each one gets you.
1. Helmet chin
The shot: your point of view, with the clocks and the road ahead. For: the most natural and stable, because your head soaks up vibration. Against: it is an accessory on your helmet. More on that in the best helmet camera for motorcycle riding.
2. Helmet top or side
The shot: a raised view, very popular with 360 cameras. Against: more leverage in the wind, and your neck feels it on the motorway.
3. Chest harness
The shot: tank, arms and controls in frame. Very immersive. For: nothing on your helmet, and very steady. Against: on sports bikes, with a tucked-in riding position, it points at the tank.
4. Handlebar
The shot: the road ahead or, turned round, your face. For: easy to fit. With a 360 camera and a stick you get the “drone” shot. Against: picks up engine vibration. Use a damped mount and turn on stabilisation.
5. Low mounts (fork, footpeg, fairing)
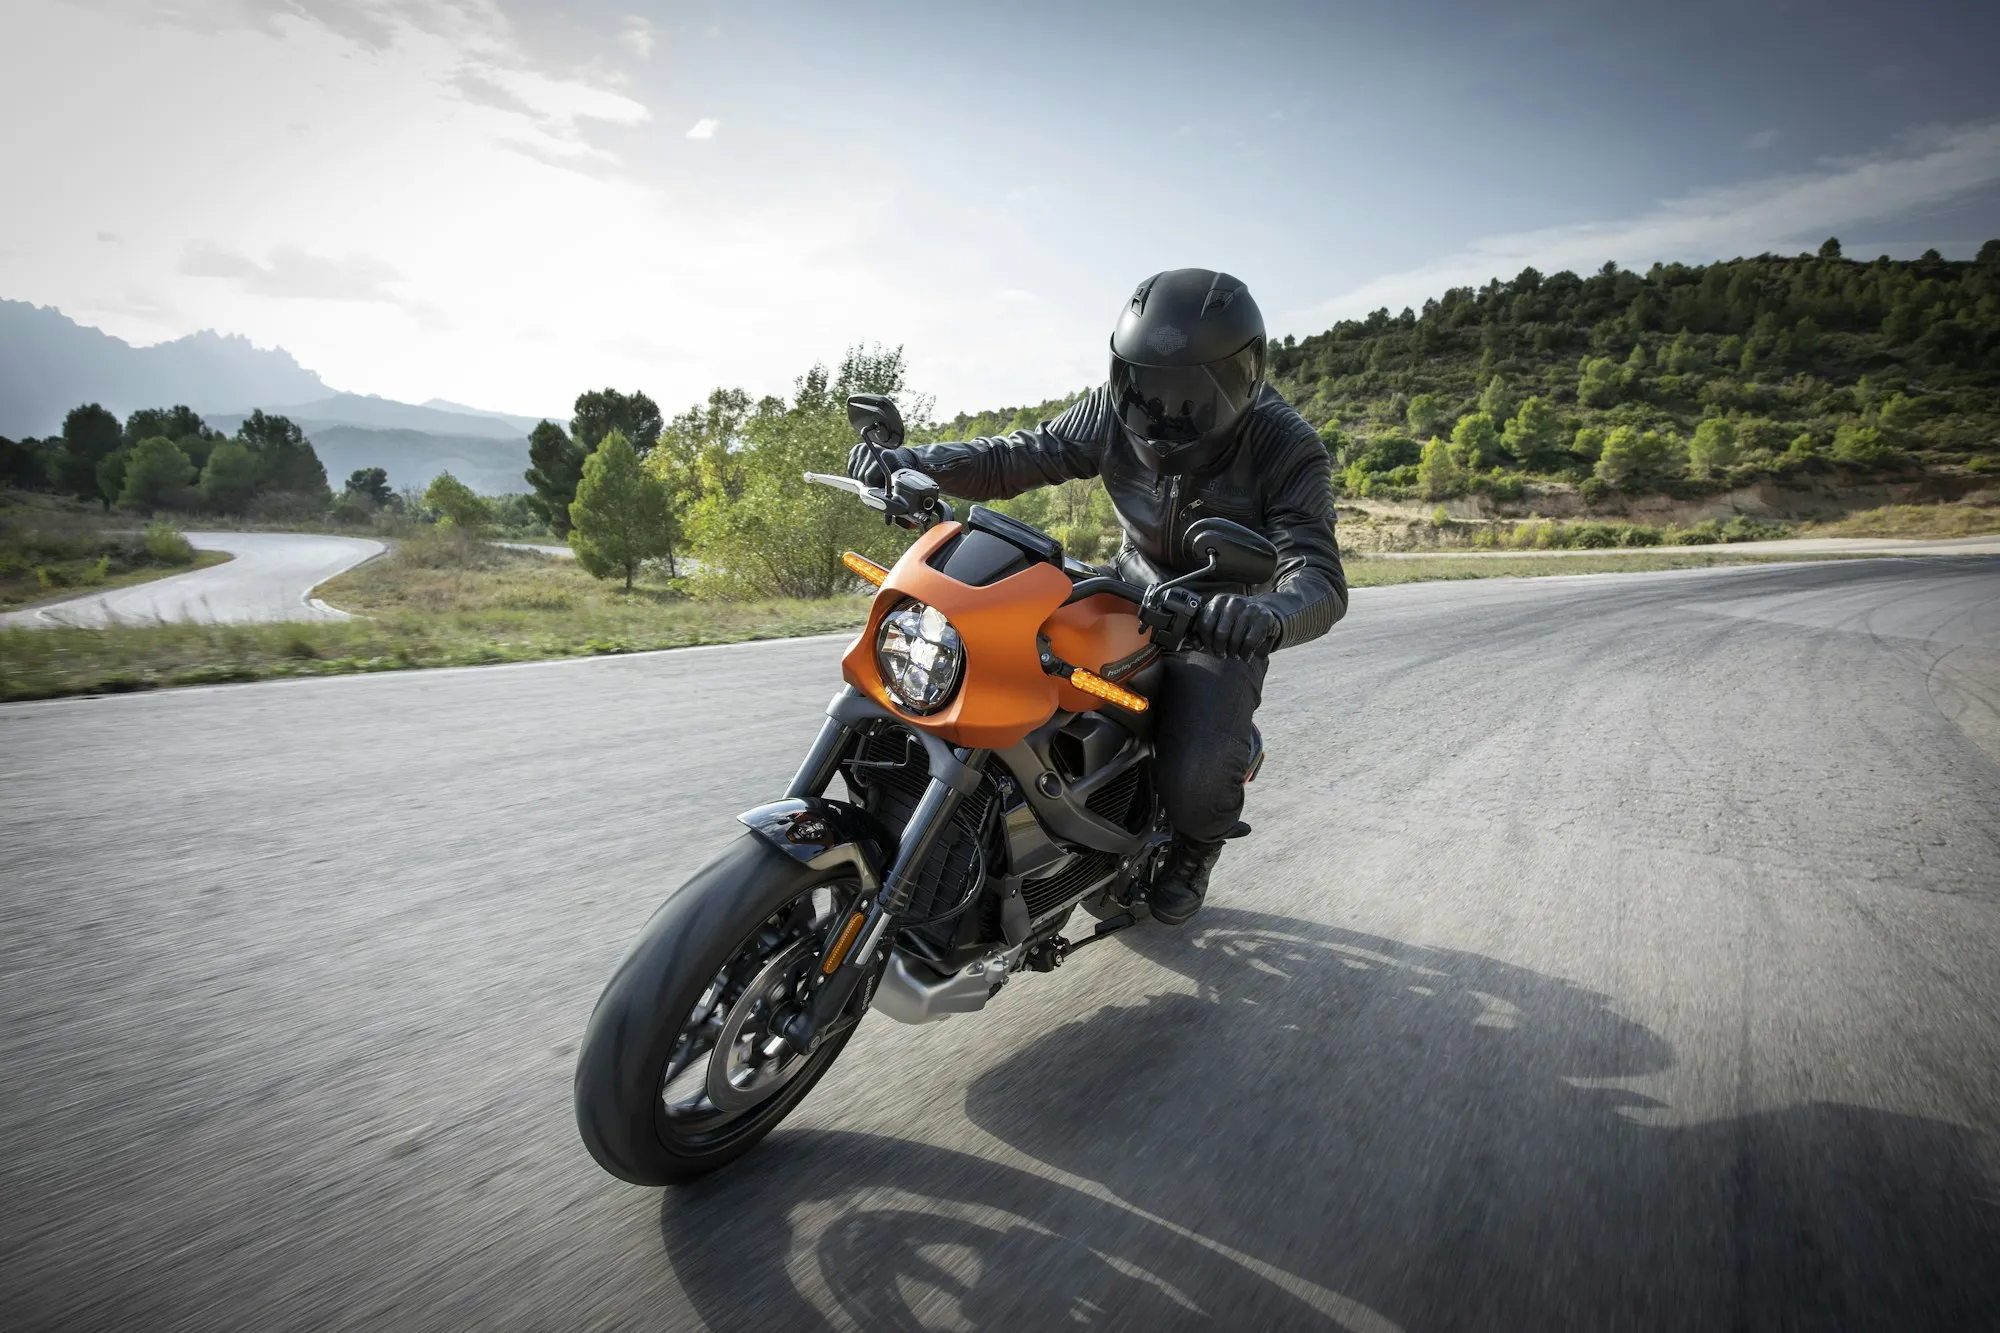
The shot: right down by the tarmac, spectacular in bends. Against: dirty and exposed. Use very secure mounts.
Tips for any position
- Use motorcycle-specific mounts with a second fixing or a safety tether.
- Tighten properly and check at every stop.
- Turn on stabilisation and horizon levelling.
Cameras we recommend
All the cameras compared in our motorcycle camera guide.